Nailing a roof installation is not a walk in the park; it’s a journey that requires an understanding of materials, mastery of techniques, and an eye for detail.
You’ll need to become familiar with the various types of roofing materials, their pros and cons, and how to choose what’s best for your specific situation.
Then, there’s the installation process itself, a step-by-step procedure that, if done correctly, will result in a roof that’s not only aesthetically pleasing but also durable and weatherproof.
But the journey doesn’t end there. You’ll also need to know how to maintain your roof to ensure its longevity.
Intrigued? There’s a wealth of knowledge to uncover, so let’s get started.
Understanding Roofing Materials
Before you dive into the roof installation process, it’s crucial to get a handle on the various roofing materials available, as this choice significantly impacts both the functionality and aesthetic appeal of your home.
Asphalt shingles, for instance, are popular for their affordability and variety of colors.
Metal roofing, on the other hand, boasts superior durability and energy efficiency, though it’s more expensive.
Wooden shingles or shakes offer a rustic charm, but require diligent maintenance.
Slate and tile roofs, while quite pricey, deliver an unparalleled elegance and longevity.
Lastly, flat roofs, common in modern architecture, allow for rooftop gardens or solar panels.
Steps in Roof Installation
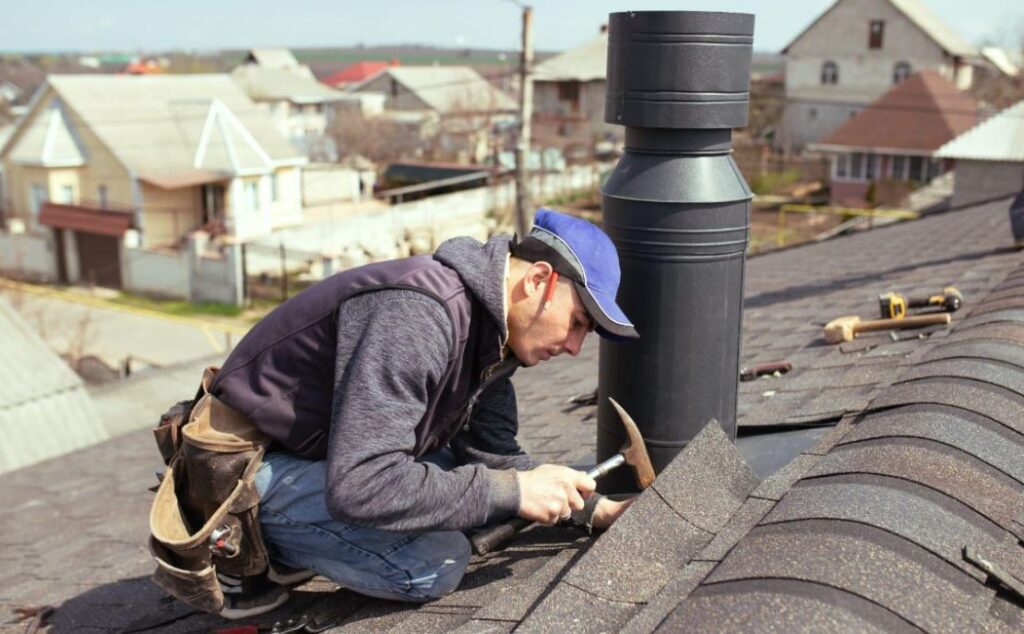
Once you’ve selected your roofing material, it’s time to roll up your sleeves and delve into the step-by-step process of roof installation.
The first step is preparing the roof deck. This involves removing old shingles and ensuring the deck is clean and free of nails.
Next, you’ll install the drip edge. This metal flashing prevents water from getting under the shingles.
Now, you’re ready to lay down the underlayment, a protective barrier between your roof deck and your shingles.
After this, you’ll start applying the shingles, working from the bottom up.
The last step is installing the ridge cap, which provides a finished look and additional weather protection.
Each step is crucial; skipping one can lead to problems down the road.